10 Photoshop Shortcuts to Speed Up your Workflow
This is a pretty intensive tutorial cover simple to complex photoshop shortcuts that I use every day to speed up my workflow. This cheat sheet compliments the video so follow along whether you are a Mac user or a Windows user.
enjoy!
MAC USERS
1- Creating a New Layer:
SHFT+OPTN+CMD+N
2- Zoom Image
SPACEBAR + CMD + click & drag left-right
* the order in which you hit the keys matters on Mac to avoid opening spotlight search.
3- Resize Brush
CTRL+OPTN click & drag left-right to change size
or
CTRL+OPTN click & drag up-down to change brush hardness/softness
4- Stamp Visible Layer
SHFT+OPTN+CMD E
5-Liquify
SHFT+CMD X
6- Create Custom Shortcut
Go to EDIT > Keyboard Shortcuts and select the filter or task you want to create a shortcut for. Make it something you’ll easily remember. See #7 Gaussian Blur for reference.
7- Gaussian Blur
SHFT+OPTN+CMD+ G
*(you can use ANY combination of keys that you want. I wanted it to end with ‘G’ so I could remember Gaussian).
8- 2 Window Display
SHFT+CTRL+OPTN+CMD+ W
and
SHFT+CTRL+OPTN+CMD+ V - for the 2 window vertical split
*(you can use ANY combination of keys that you want. I wanted it to end with ‘W’ and ‘V’ so I could remember Window and Vertical).
9- Creating your own PS Action - Frequency Separation
Hit Record in the Action Tab
>Make a new Stamp Visible Layer
>Rename it to Low Frequency
>Make another Stamp Visible Layer on top of LF
>Rename it to High Frequency
>Set the Opacity on the High Frequency Layer to 0%
>Select the Low Frequency Layer
> Add Gaussian Blur at around 4.6 to Low Frequency Layer
>Select High Frequency Layer
> Set Opacity on High Frequency Layer to 100%
> On the top menu go to IMAGE > APPLY IMAGE
Set the SOURCE to LOW FREQUENCY
Change the blending mode to ADD
Change the SCALE: 2
OFFSET: 0
Make sure INVERT is selected
Click ‘OK’
>Change Blending mode on High Frequency Layer to LINEAR LIGHT
>Select both layers and Group them using CMD+G
>Rename the Group to Frequency Separation 16bit
>Open the the group and select Low Frequency
> Click the STOP RECORD BUTTON in the actions panel
>Check the box next to Gaussian Blur in the Actions panel.
>ENJOY Frequency Separation
10- Group Layers
Select the layers you want grouped and hit
CMD+G
WINDOWS USERS
1- Creating a New Layer:
SHFT+ALT+CTRL+N
2- Zoom Image
CTRL + SPACEBAR click & drag left-right
3- Resize Brush
ALT+Right Click and drag left-right
4- Stamp Visible Layer
SHFT+CTRL+ALT+E
5-Liquify
SHFT+CTRL+X
6- Create Custom Shortcut
Go to EDIT > Keyboard Shortcuts and select the filter or task you want to create a shortcut for. Make it something you’ll easily remember. See #7 Gaussian Blur for reference.
7- Gaussian Blur
SHFT+ALT+CTRL+ G
*(you can use ANY combination of keys that you want. I wanted it to end with ‘G’ so I could remember Gaussian).
8- 2 Window Display
SHFT+ALT+CTRL+ W
and
SHFT+ALT+CTRL+ V - for the 2 window vertical split
*(you can use ANY combination of keys that you want. I wanted it to end with ‘W’ and ‘V’ so I could remember Window and Vertical).
9- Creating your own Action - Frequency Separation 16bit
Hit Record in the Action Tab
>Make a new Stamp Visible Layer
>Rename it to Low Frequency
>Make another Stamp Visible Layer on top of LF
>Rename it to High Frequency
>Set the Opacity on the High Frequency Layer to 0%
>Select the Low Frequency Layer
> Add Gaussian Blur at around 4.6 to Low Frequency Layer
>Select High Frequency Layer
> Set Opacity on High Frequency Layer to 100%
> On the top menu go to IMAGE > APPLY IMAGE
Set the SOURCE to LOW FREQUENCY
Change the blending mode to ADD
Change the SCALE: 2
OFFSET: 0
Make sure INVERT is selected
Click ‘OK’
>Change Blending mode on High Frequency Layer to LINEAR LIGHT
>Select both layers and Group them using CRTL+G
>Rename the Group to Frequency Separation 16bit
>Open the the group and select Low Frequency
> Click the STOP RECORD BUTTON in the actions panel
>Check the box next to Gaussian Blur in the Actions panel.
>ENJOY Frequency Separation
10- Group Layers
Select the layers you want grouped and hit
CTRL+G
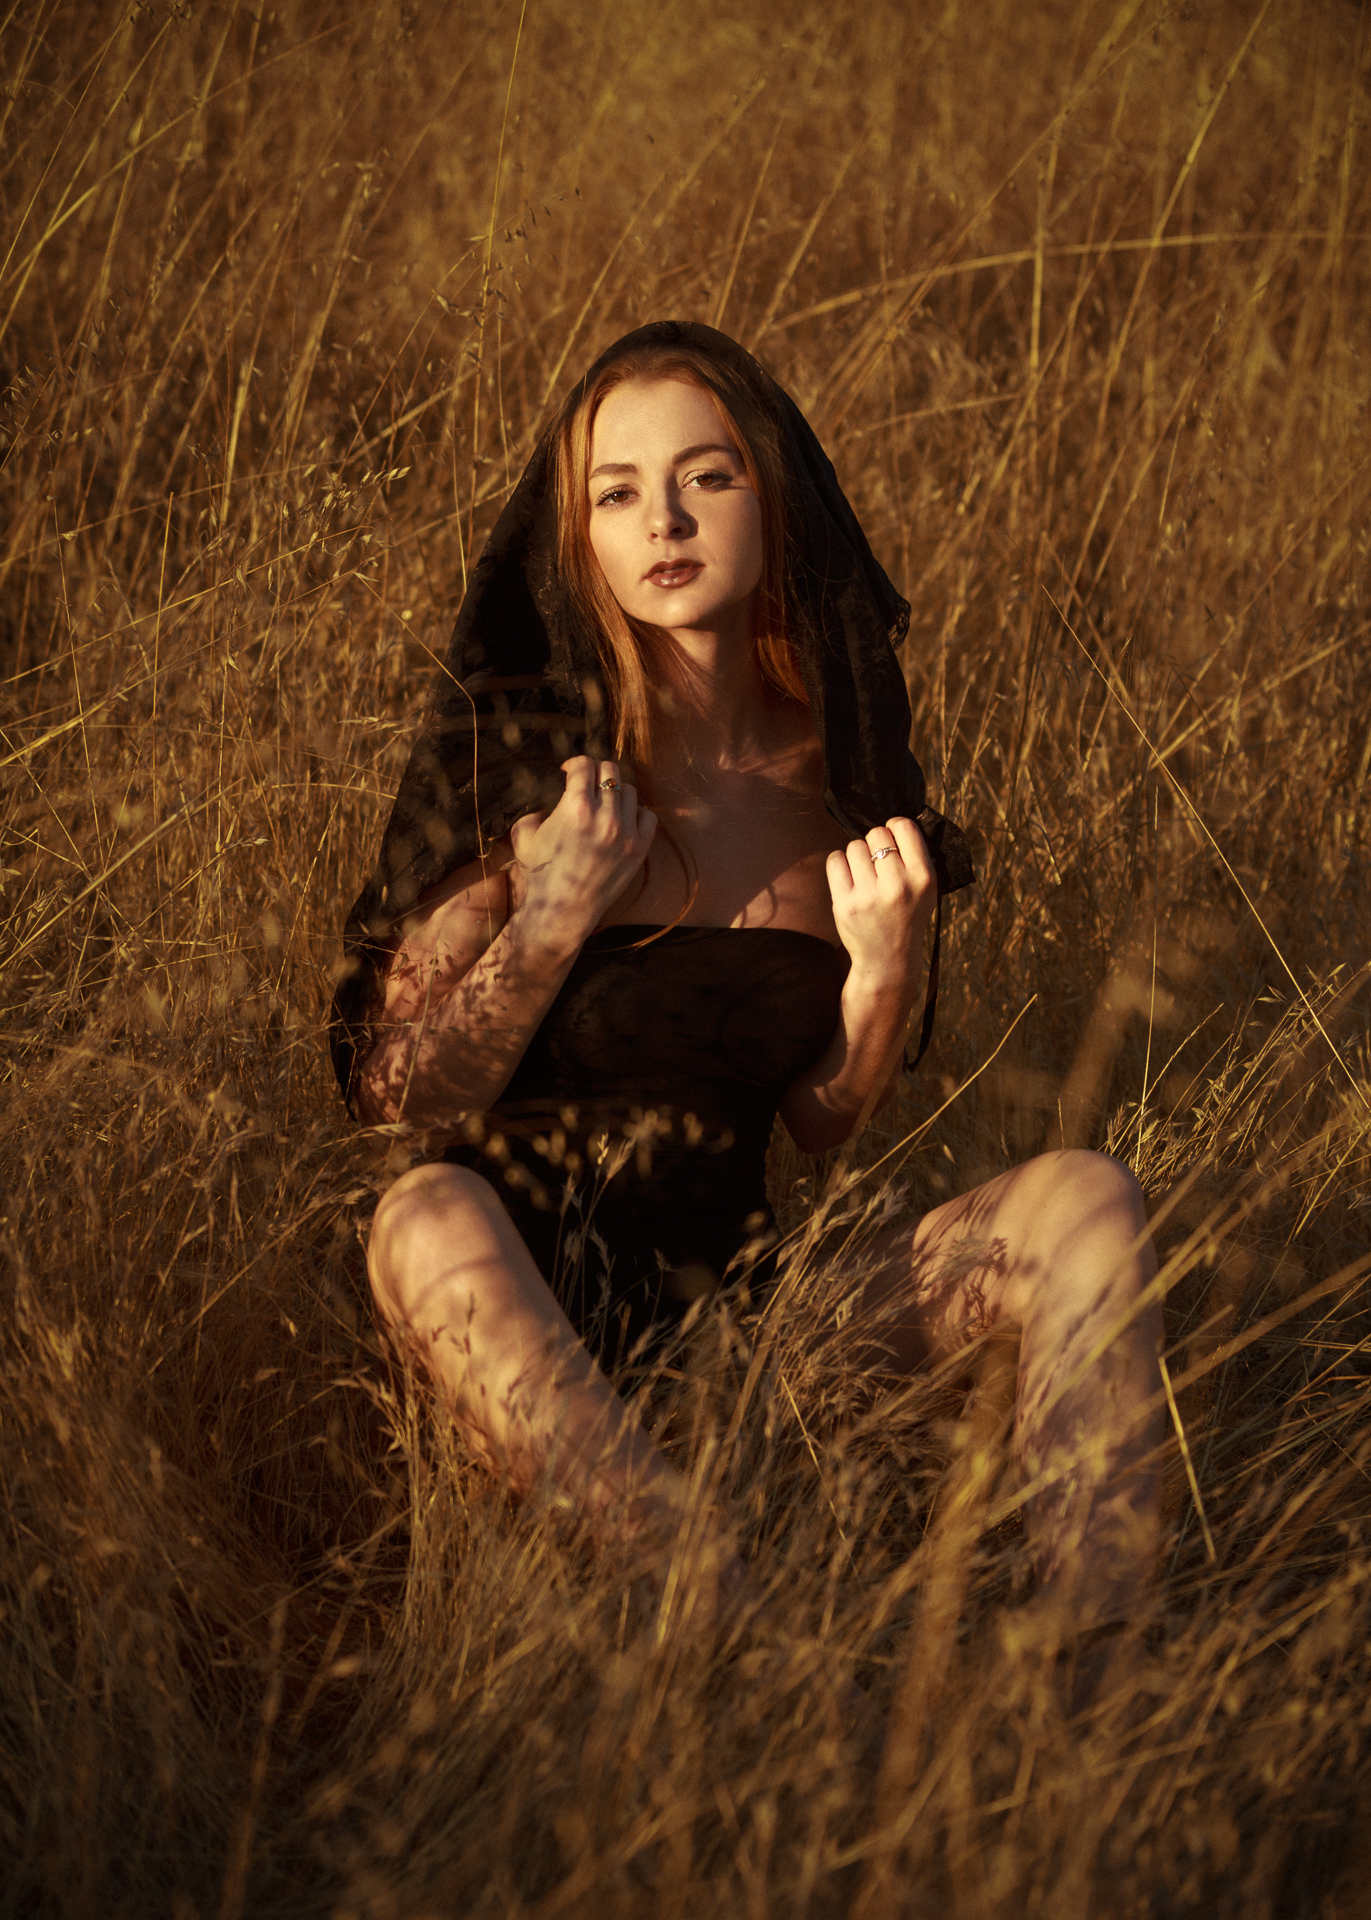
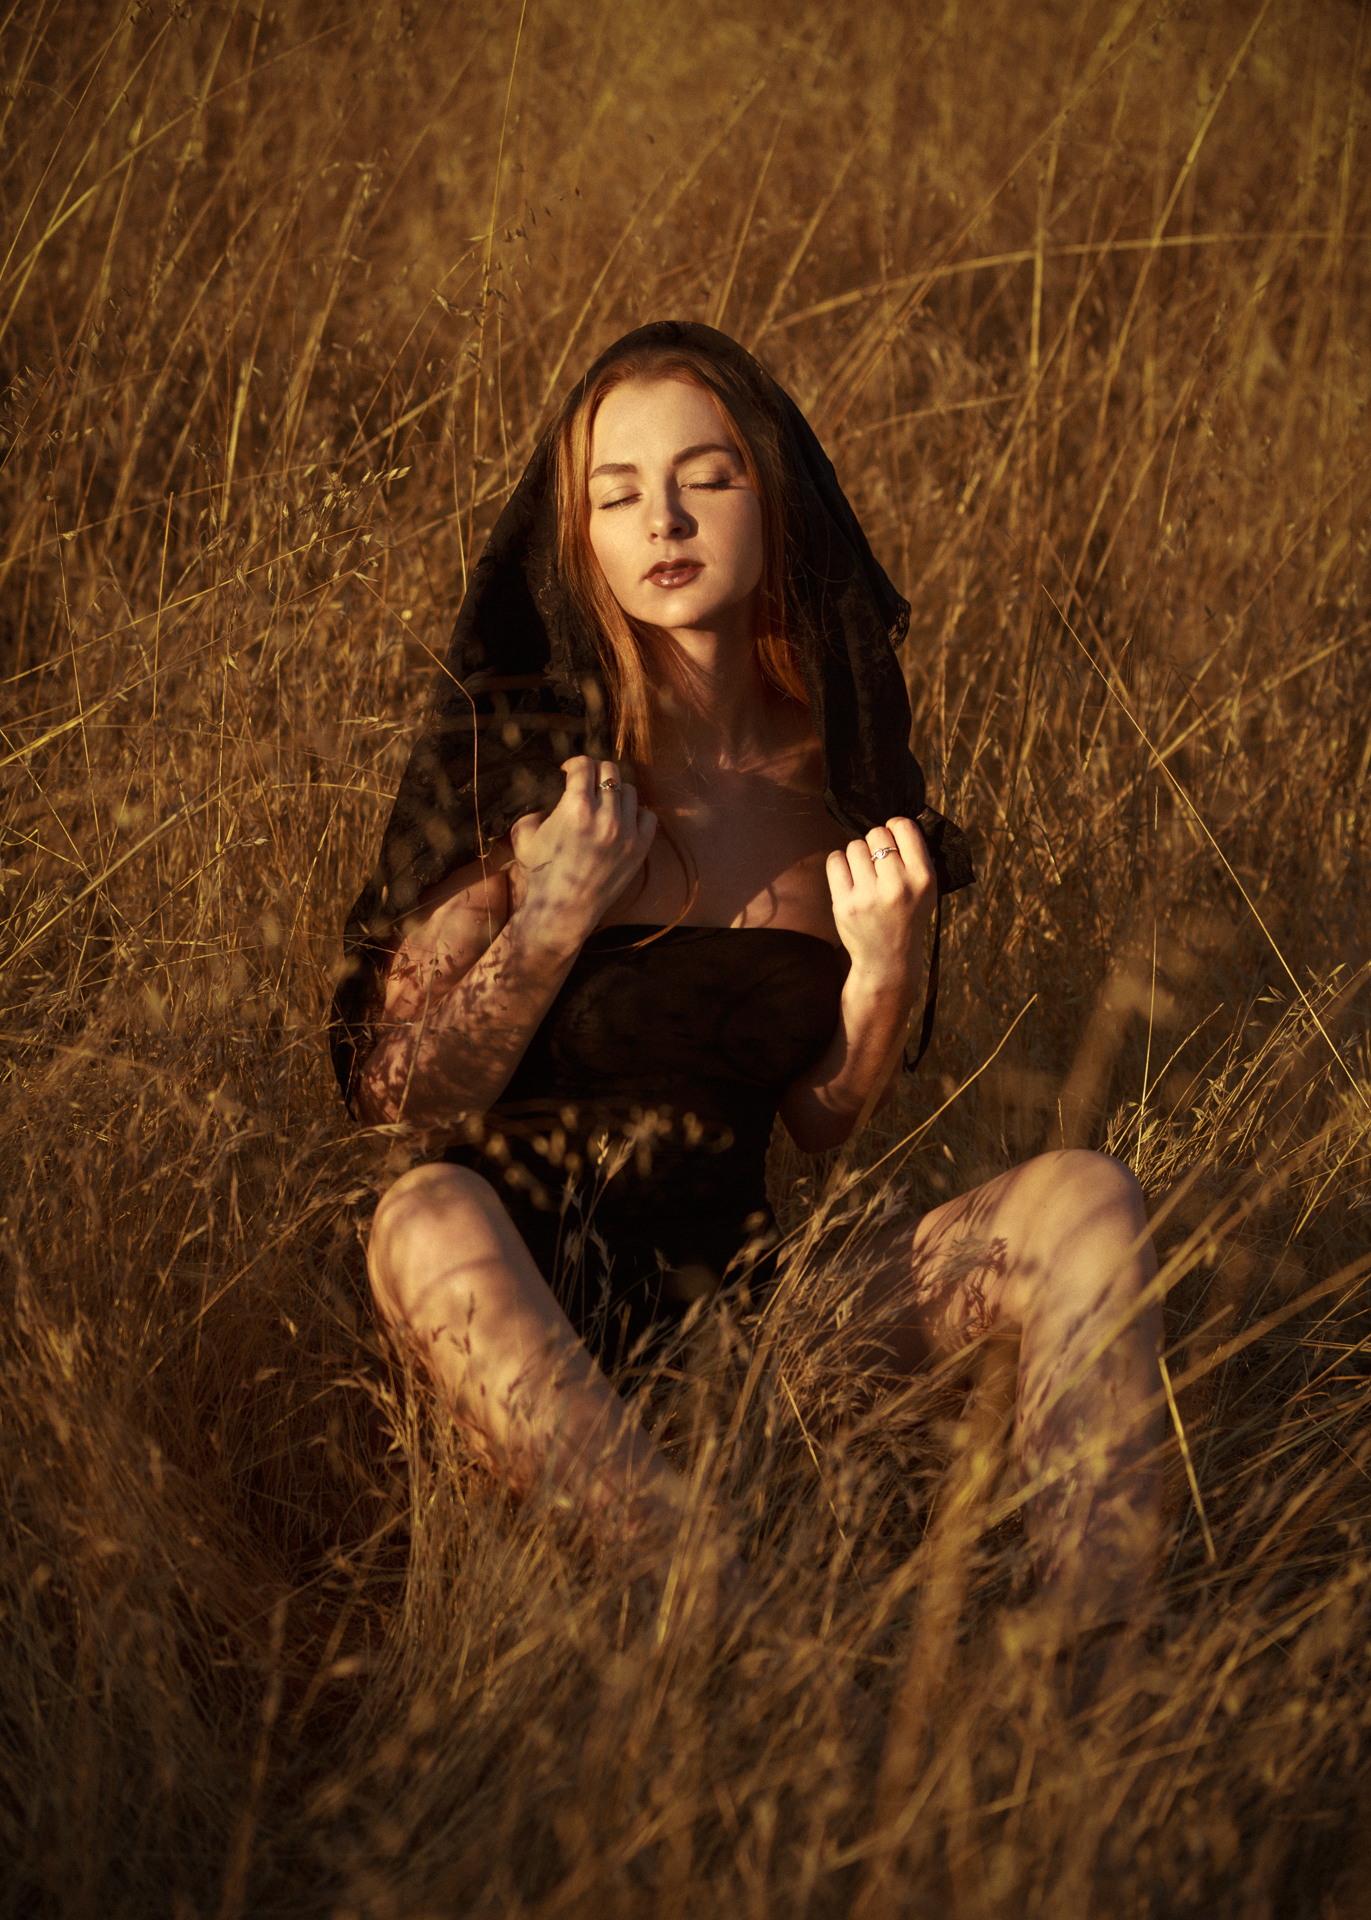
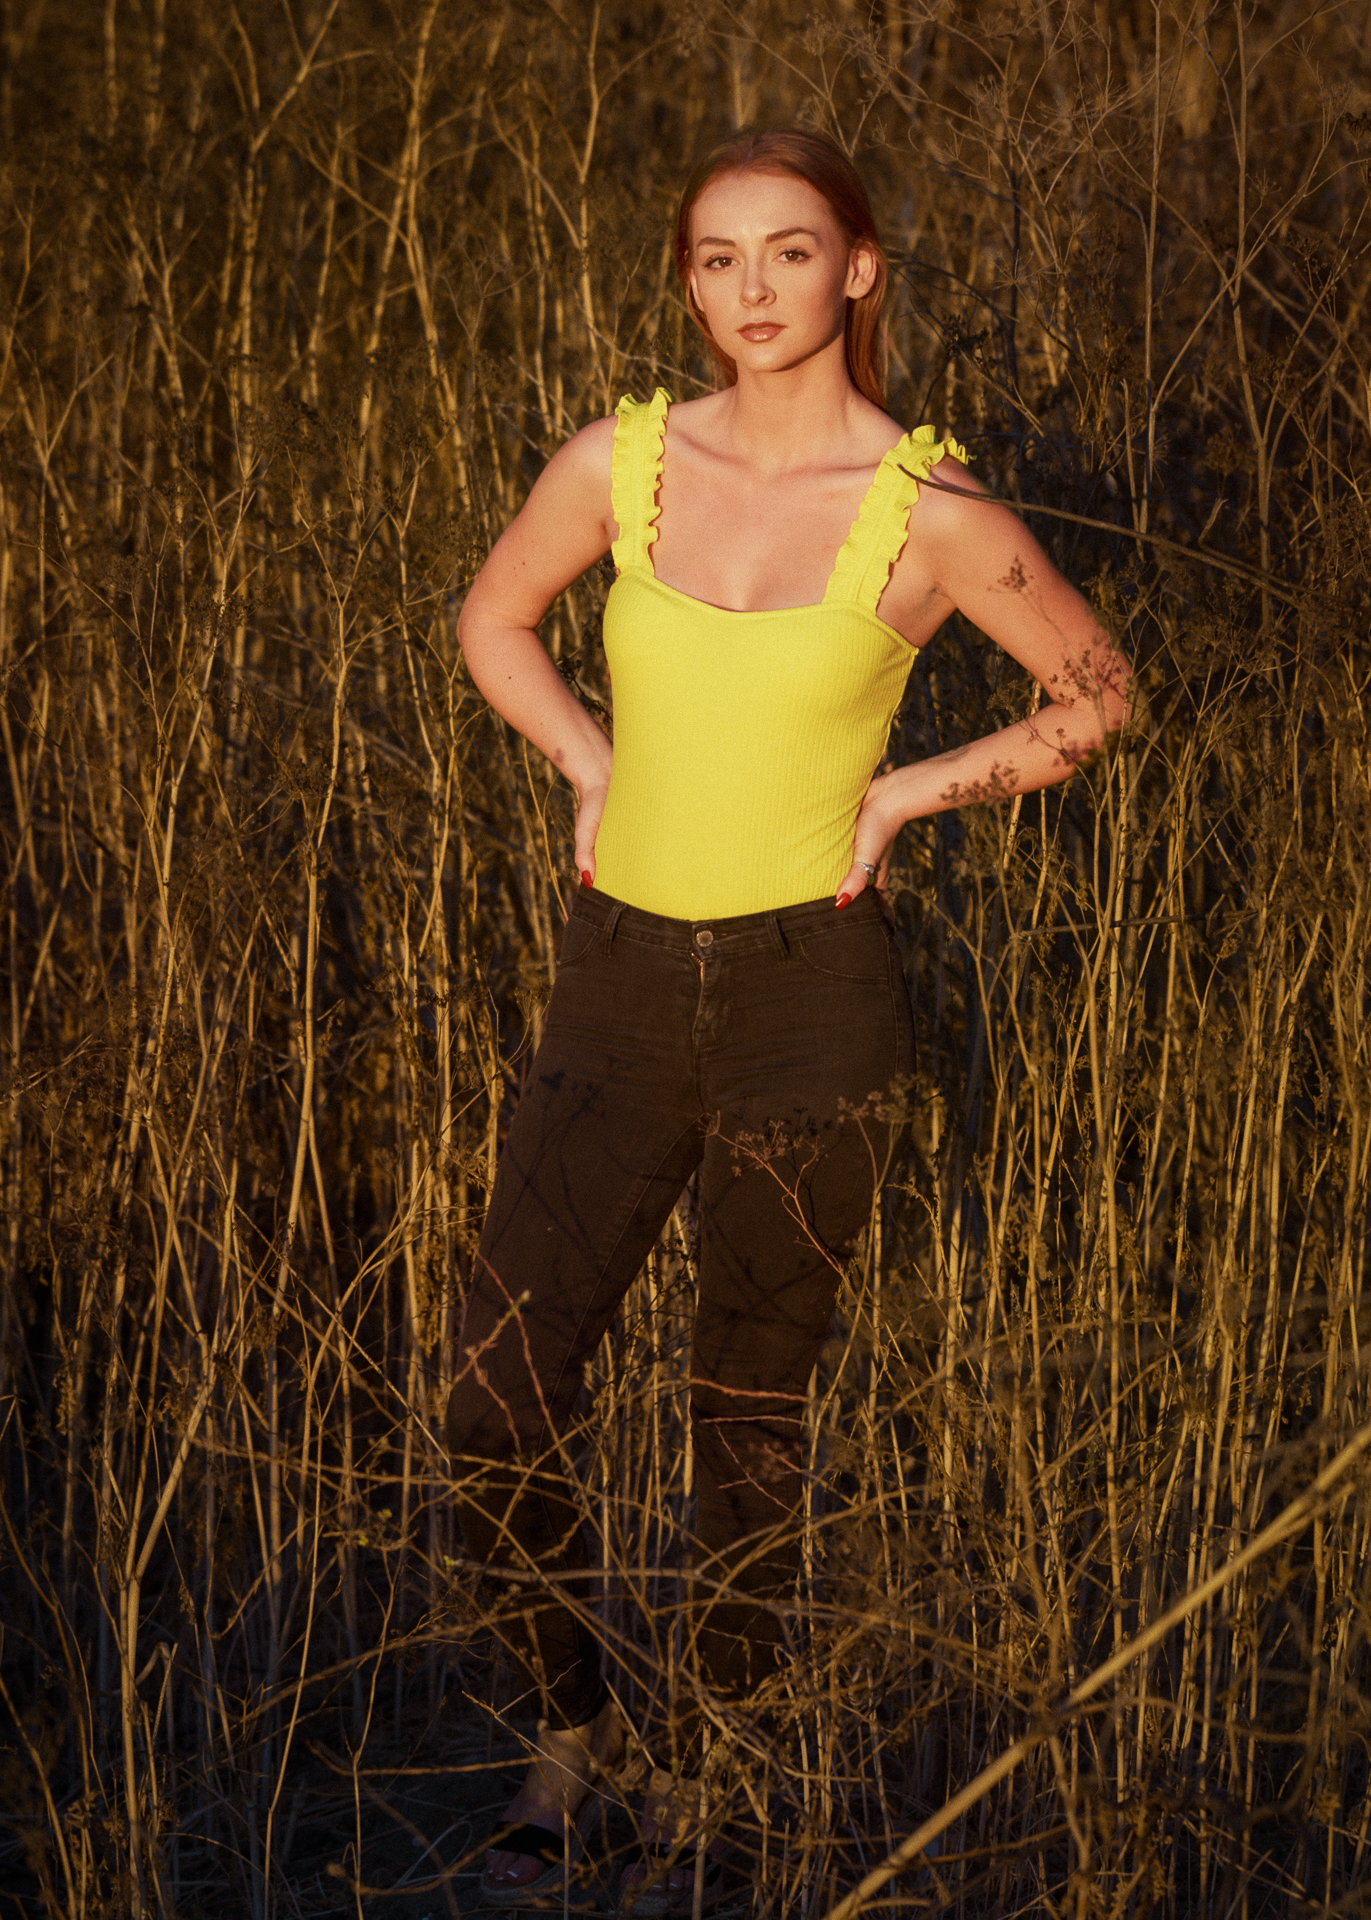
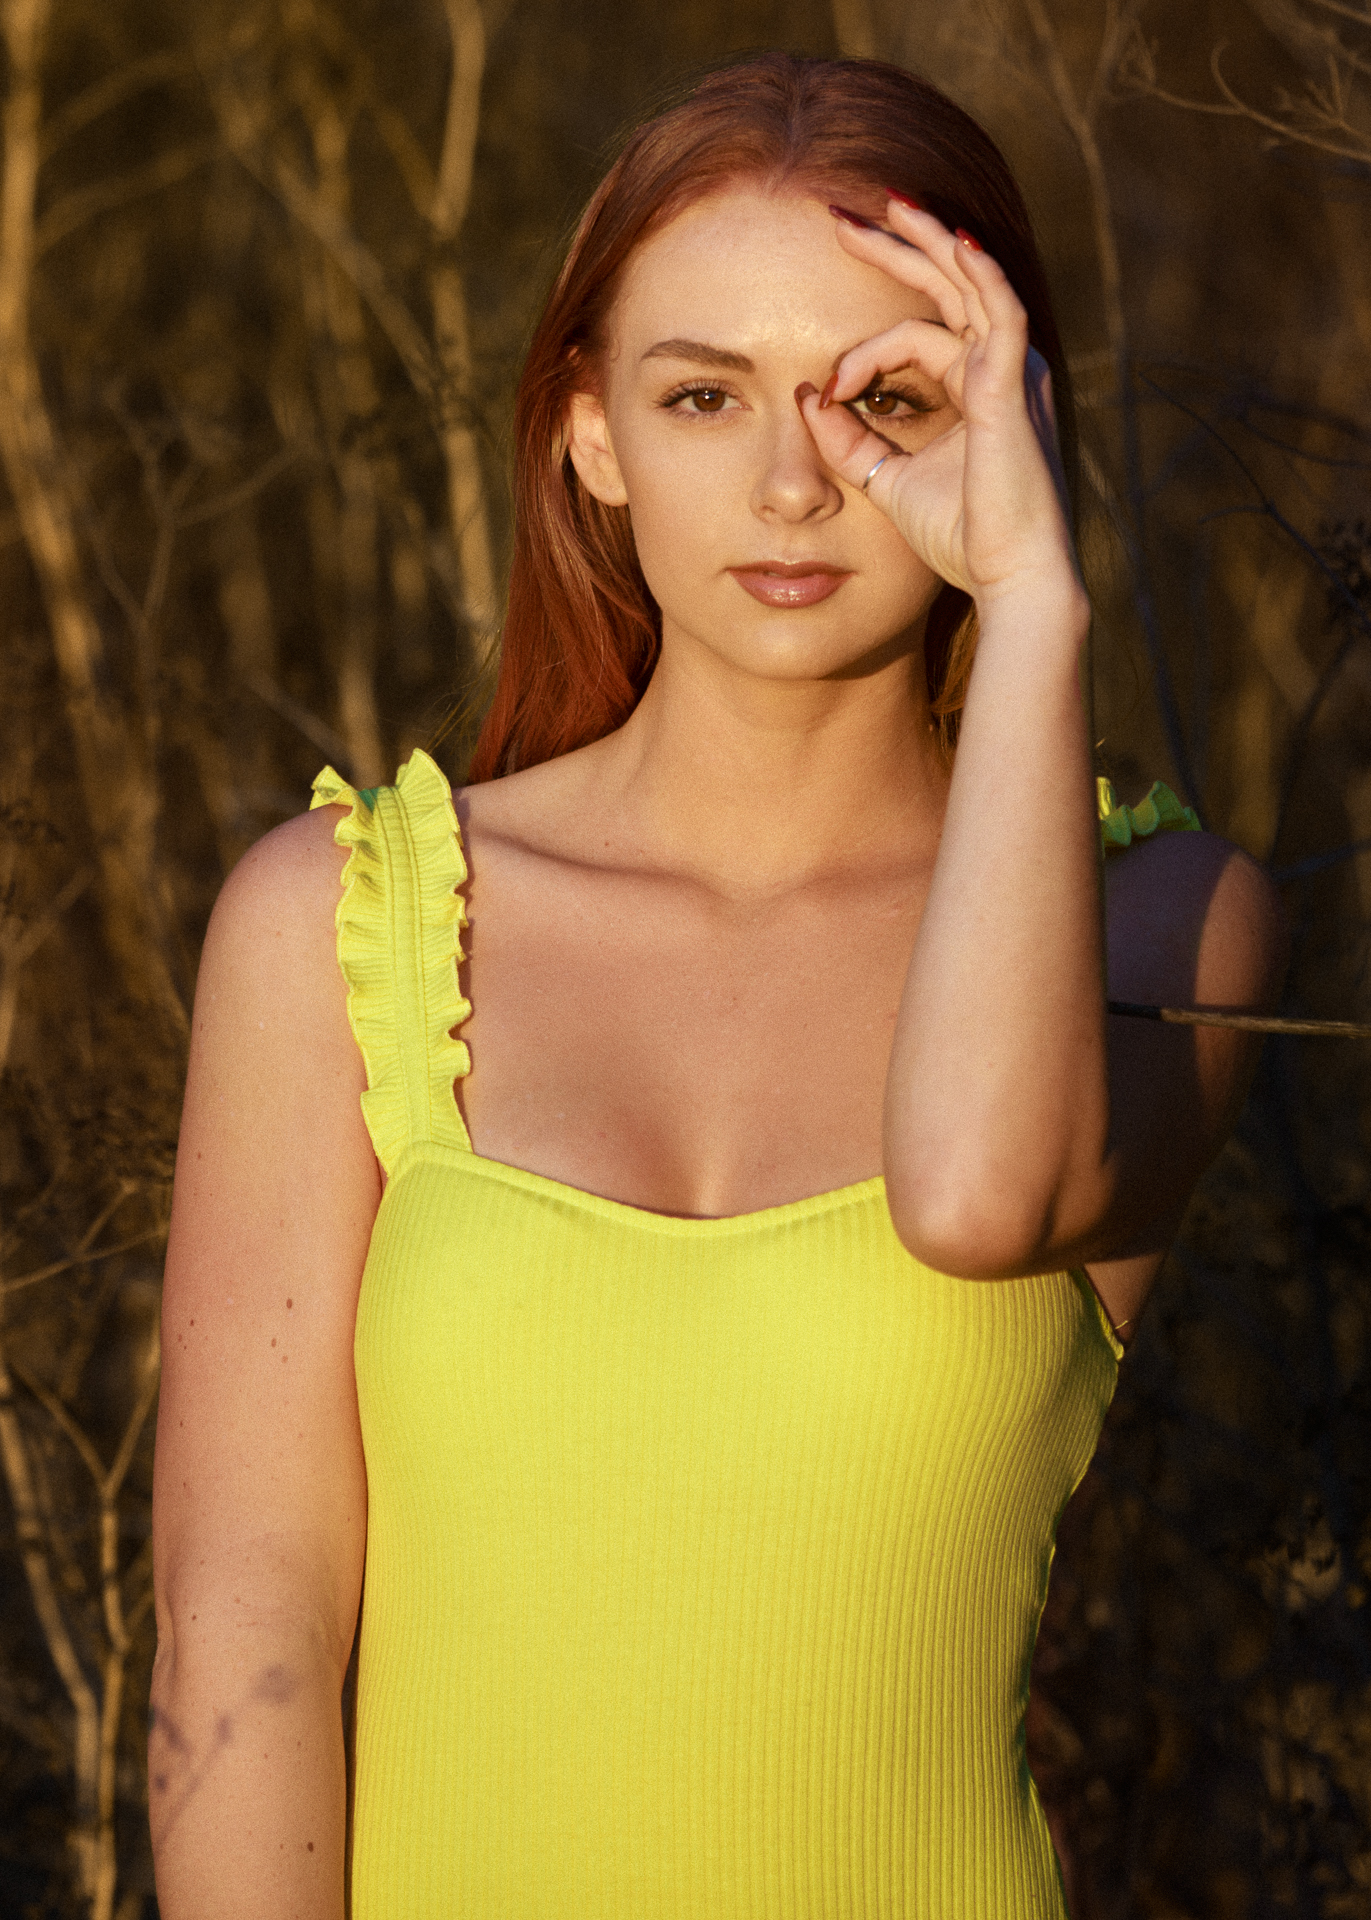
Quick Photoshoot in San Luis Obispo | BTS
A quick behind the scenes look with Amber Paige in San Luis Obispo
I ended up dropping my camera and missing the most important parts of the shoot… BUT I’m making the most of it and showing you what I got. This was a very unexpected quick shoot and the pressure of shooting without any preparation and having to improvise (finding a location, good light, poses, everything) was a little daunting. I made a ton of mistakes and realized that a lot of my ideas didn’t work but I feel like I learned so much and love the images that I got. I keep being reminded that it’s about the daily grind vs trying to be perfect right out the gate. The video is linked down below! Hope you guys enjoy it and learn from my mistakes and continue to follow me in my photography journey. Thank you. #prayforantonio
I'm waiting?
I'M TRYING TO RELEASE 1 VIDEO A WEEK, BUT I WENT OUT OF TOWN/GOT SICK, THEN WORK...LIFE.... ANYWAY SORRY FOR THE DELAY. NEW VIDEO IN 2 DAYS!
Here’s a little something to make you laugh/cringe/cry ?
Enjoy!


